

Every brand needs a logo but how to go about getting one can be daunting. If you’ve got some cash to burn, you can hire a graphic designer in a matter of minutes on Fiverr. There’s also no shortage of free (or freemium) logo generators online. But, if you’re anything like me, you crave full creative control and can’t turn down the opportunity to learn something new. I learned quite a few new things this quarter in the process of developing logos for my personal brand and for a couple of apartment buildings, keep reading to learn my process.
Step 1: Finding Inspiration
Finding inspiration that sparks your creativity is essential to moving forward in the logo design process. If you’re lucky enough to already have some existing branding, that’s the first place to look for inspiration. If you don’t have any existing branding, you may be able to find inspiration in the design of the product itself.
For example, when I developed this logo for a new apartment building in Delridge, the only thing I had to go off of was a handful of architectural renderings. As you can see, I used the building silhouette as the basis of the logo. (I also pulled colors from a screenshot of the building on Google Maps).

Pinterest can be another great source of inspiration (just be sure not to steal someone’s design). Consider also the industry in which you operate and what styles, colors, fonts, etc. are popular.
Step 2: Choosing a Type of Logo
Before you can jump straight into creating your logo, there are a few decisions you’ll need to make.
First, what type of logo are you creating- is it just text? Just a graphic/icon? Or a combination of the two?
If you’re making a text-only or combination logo:
- Are you using the full brand name or just the initials (monogram)?
- Do you want to include your tagline?
- Will you be using a serif or sans-serif font?
- Are you using more than one font?
If you’re making a graphic/icon-only or combination logo:
- Will the art style of the graphic be detailed or simplified?
- Is the graphic/icon intended to explicitly represent a tangible thing or is it more abstract?
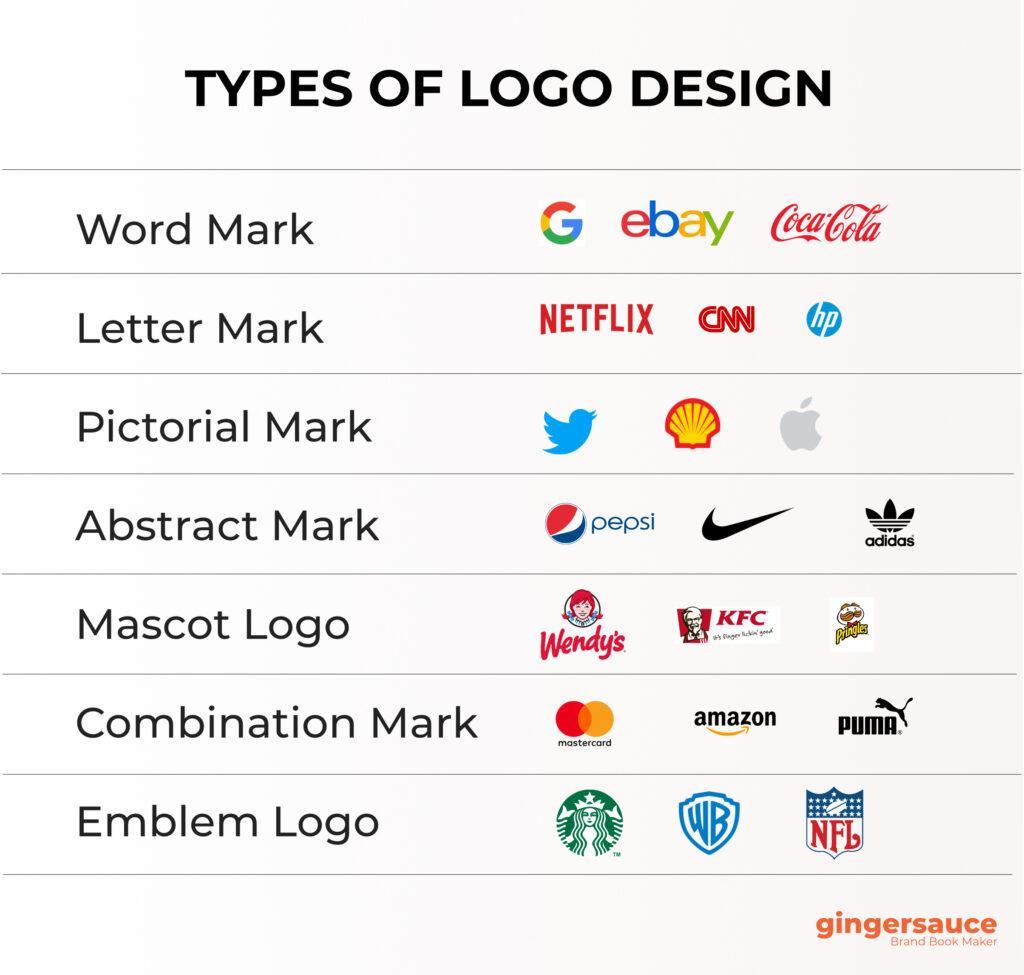
Click to learn more about different logo types
Step 3: Drafting in Canva
The next step of my logo design process takes place in Canva (I would be nothing without Canva). Heads-up that you will need a premium membership to download your designs as a vector file (.svg), it’s around $15/month for up to 5 people which I personally believe to be an insanely low number.
Lately, I’ve become a huge fan of Canva’s whiteboard feature, the limitless canvas allows me to collect and view all of my innumerable references and design iterations in one place. Here’s a sneak peek at the whiteboard I used for my (admittedly very overwhelming) brand color selection process.

When I’m drafting a logo in Canva, I often use blocks the same color as the background to artificially edit graphics/fonts in ways Canva won’t allow. Here you can see side-by-side the artificially edited monogram and all of the components that went into making it.

I could wax poetic about how incredible Canva is, and it is incredible, which is why I start drafting my designs there but when I eventually hit the limits of Canva’s vector capabilities (or begin having copyright concerns), I move into Vectornator.
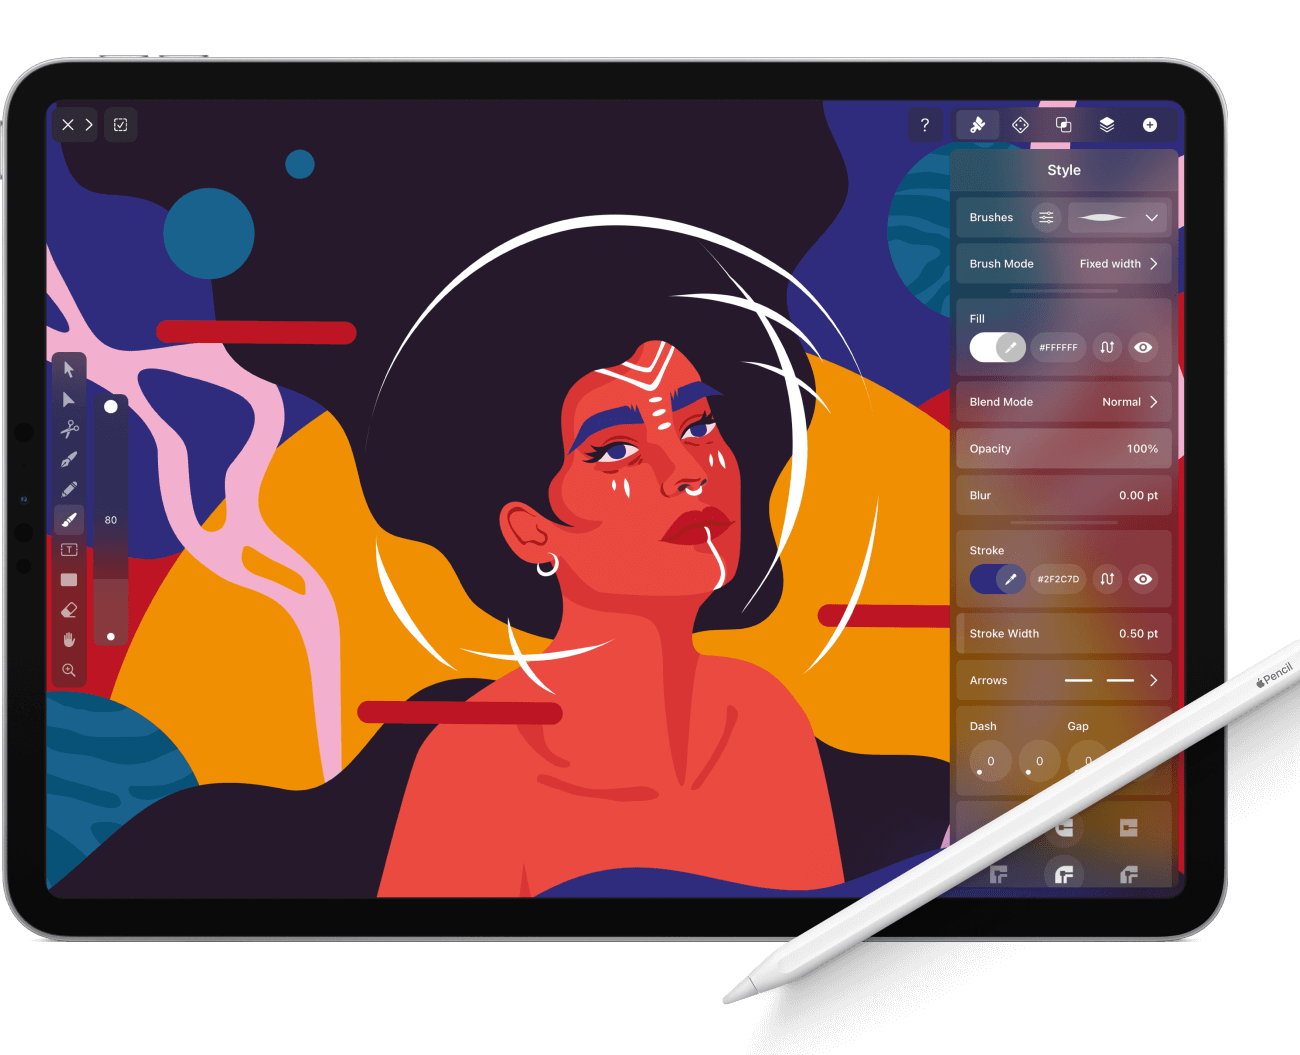
Step 4: Refining in Vectornator
Vectornator is a free vector design software, that’s considered to be one of the better (free) alternatives to Adobe Illustrator.
There are a plethora of resources online that teach vector design better than I could ever hope to do in a blog (even if I was actually well-versed in the subject). My process for this step is as simple as downloading a Canva Draft as an SVG file, opening that file in Vectornator, and then doing my best to figure out how to do what I want to do (sometimes it’s a struggle to even figure out how to google my questions). This is where the non-designer part starts to be a real disadvantage but, it’s not a race and every hour I’ve spent fruitlessly toiling away in Vectornator has made me more adept at utilizing the software.
Extra tip: Once you’ve successfully created your logo, you can export it as an SVG file, and upload it to Canva as a graphic that is recolored to suit whatever your next design requires (extra points if you add it to a Canva Brand Kit).

Now you’ve got your very own, handmade logo and valuable graphic design practice. Once you start applying your logo across your marketing communications, you may find that it isn’t suitable for all applications (that’s how I ended up with three logo variations). That’s more than ok! Back to the drawing to add some new logo variations to your brand kit.

Leave a comment